安装Cypress的几个Tips
3 分钟看了打造高速运转的迭代机器:现代研发流程体系打造一文,很受启发。正好手上有项目可以跑一下E2E测试,于是试用了文中提到的Cypress。
安装过程不是非常顺利,总结了几个Tips,记录下来供大家参考。
1. 安装二进制文件
使用npm安装Cypress后,根据官网的教程,执行npx cypress open,会提示没有安装Cypress.app,需要执行cypress install安装。

直接执行是不行的,需要加上npx前缀,即:
npx cypress install如果网络环境不是很理想,下载速度非常慢的话,可以直接从镜像服务器下载,然后解压到对应的目录:
- MacOS:
~/Library/Caches/Cypress/{version}/ - Linux:
~/.cache/Cypress/{version}/ - Windows:
/AppData/Local/Cypress/Cache/{version}/
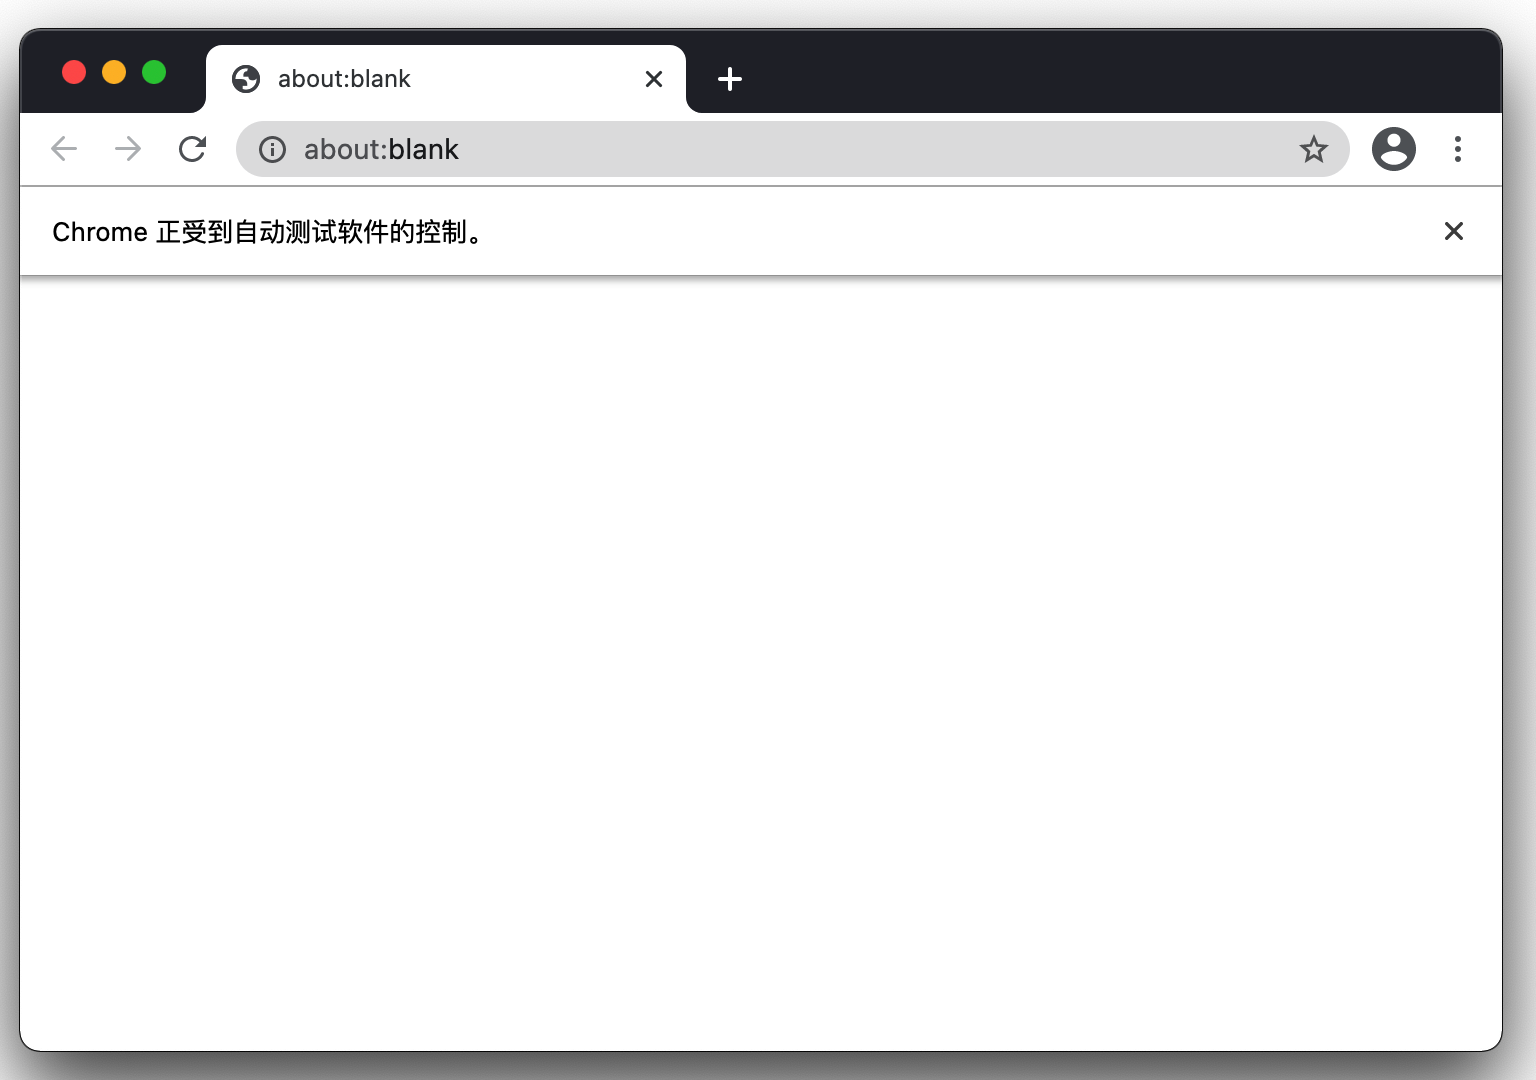
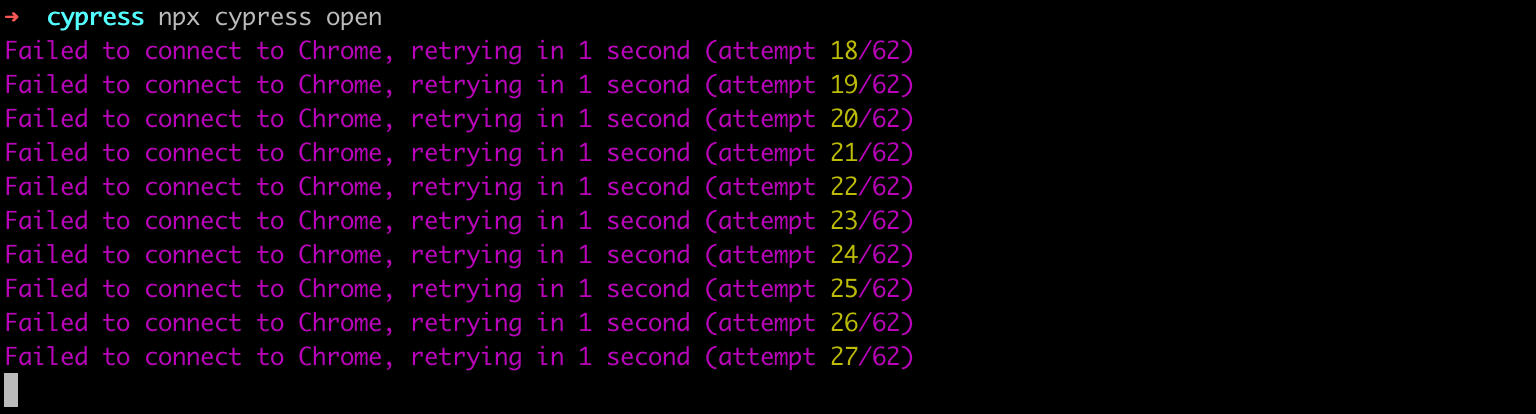
2. Failed to connect to Chrome
点击「Run n integration spec」按钮后,打开的Chrome内无任何内容,控制台会一直报「Failed to connect to Chrome」错误。
Google了一下,较多的解决方案是,修改plugins/index.js文件如下:
module.exports = (on, config) => {
  on('before:browser:launch', (browser, launchOptions) => {
    if (browser.name === 'chrome' && browser.isHeadless) {
      launchOptions.args.push('--disable-gpu');
      return launchOptions
    }
  });
}
经过试验,当前版本,这方案完全没用。
另一种方案,是修改host文件,指定:
127.0.0.1 localhost经过试验,该方案有效。
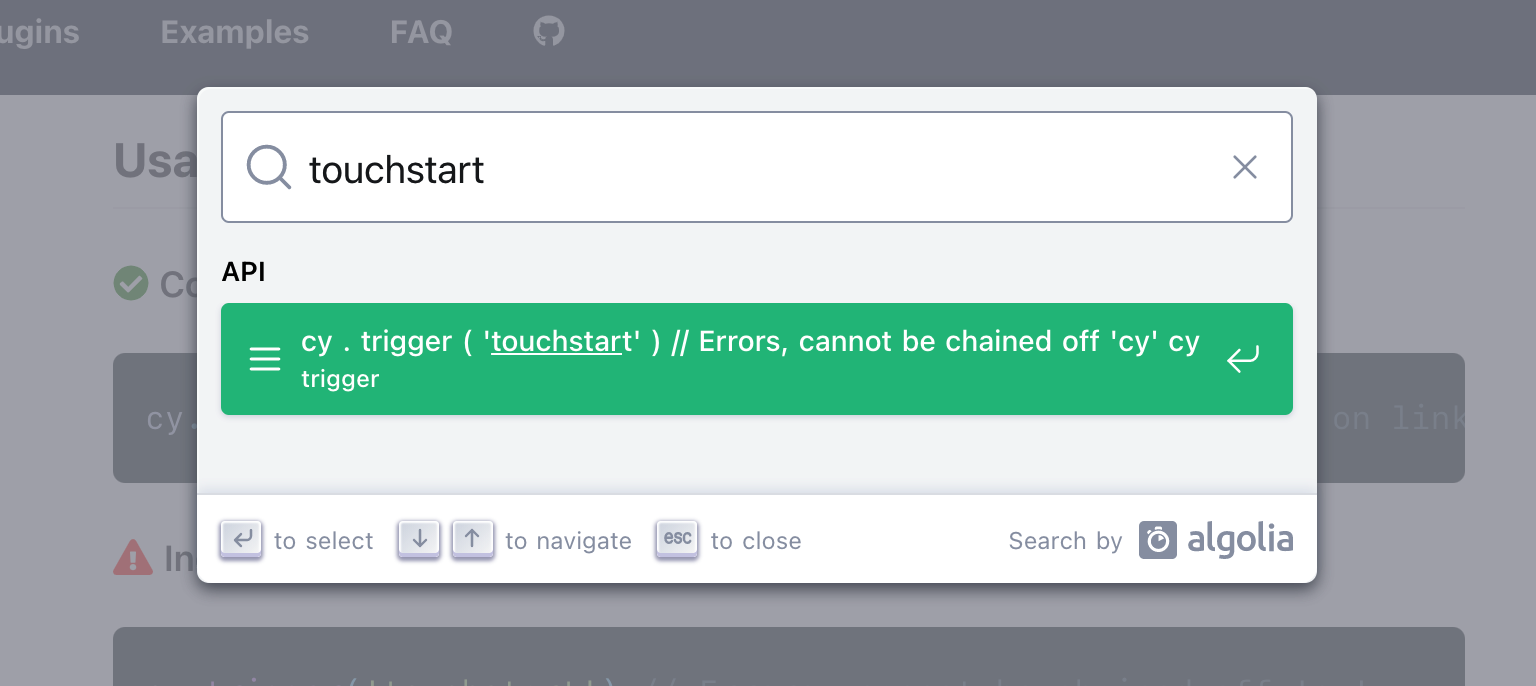
3. 模拟tap或touch事件
这个页面内有几种方案,有效的方案是使用trigger触发touchstart和touchend。
cy.get('.class-name')
.trigger('touchstart', {
  touches: [{ pageY: 0, pageX: 0 }]
})
.trigger('touchend', {
  touches: [{ pageY: 0, pageX: 0 }]
})
另外一种比较常见的方案,是使用trigger触发pointerdown和pointerup,但这个对我来说无效。
奇怪的是,官方文档内完全没有提到这些事件。搜索「touchstart」,只有下图。